


January 14, 2026, 9:34 am | Read time: 5 minutes
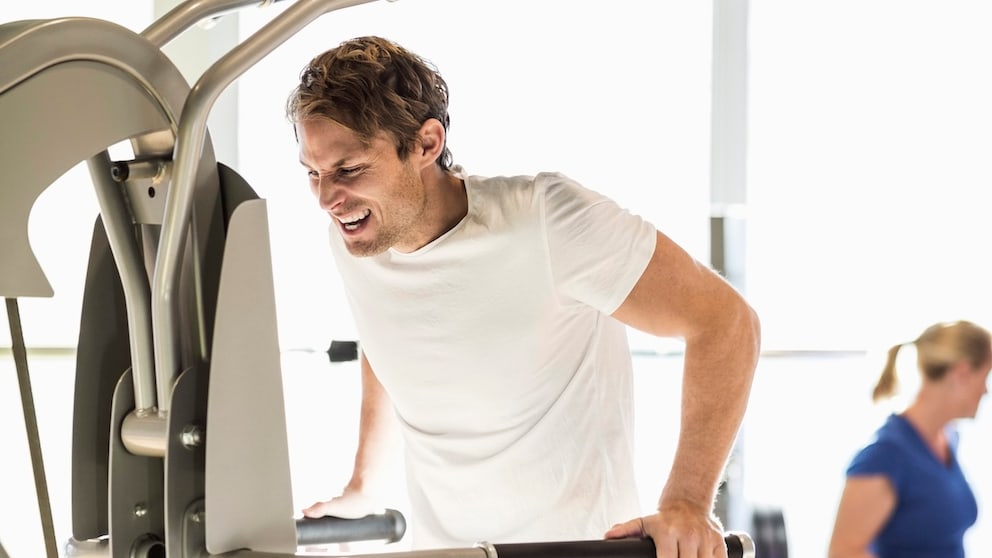
I want to make my triceps burn and know that dips are an excellent exercise for that. You can do them on the floor or a bench. However, I want more variety and aim to progress to free triceps dips. That’s why I train dips at the gym on the pull-up machine. Contrary to what the name suggests, the machine is wonderfully suited and even intended for training dips. For those who haven’t dared to try it yet, I’ll explain here at FITBOOK how it works.
If you want to train your upper body without moving from one machine to another at the gym, the pull-up machine is a good choice. You can, of course, train pull-ups on it (we’ve already explained pull-ups on the machine in this FITBOOK article). This can be done with an overhand grip (back of the hand facing the body) or a hammer grip (palms facing inward, back of the hand facing outward)–two variations that challenge the back, shoulder, and arm muscles (especially the biceps) differently.
And you can specifically train the triceps with dips.
Setting the Right Weight
When it comes to setting the optimal weight, you have to think differently with the pull-up machine. While more weight usually means more resistance on most gym machines, it’s the opposite with the pull-up machine. The more weight you set, the easier it is to perform the pull-up or, in our example, the triceps dip. This is because the weight serves a different function here. It’s not resistance but support. Accordingly, setting a light weight means you have less support and must rely more on your muscle strength–making pull-ups or dips more challenging.
You get maximum support when you set your body weight as the weight. If you’ve never trained on the pull-up machine, you might start with that and then gradually increase by reducing the set weight step by step.
When I want to test a new difficulty level, I set a weight that I think or know will make the exercise easy for me. Then I test the exercise, and if my assumption is correct, I reduce the weight by five kilograms and test again. I continue this until I reach the desired difficulty. In my case, that’s when I can do a maximum of eight repetitions per set.
A Look at the Machine–How Should I Position Myself?
Speaking of testing and exercise execution: If you’re standing in front of the machine for the first time, you might not immediately understand how to position yourself to perform the exercises. That’s how it was for me at the beginning. Especially the switch from pull-up to dips initially eluded me.
But it’s actually much simpler than it looks. Unlike some leg machines, you don’t have to adjust much here. The hardest part is finding the optimal weight. Here’s a small guide:
- Stand facing the machine.
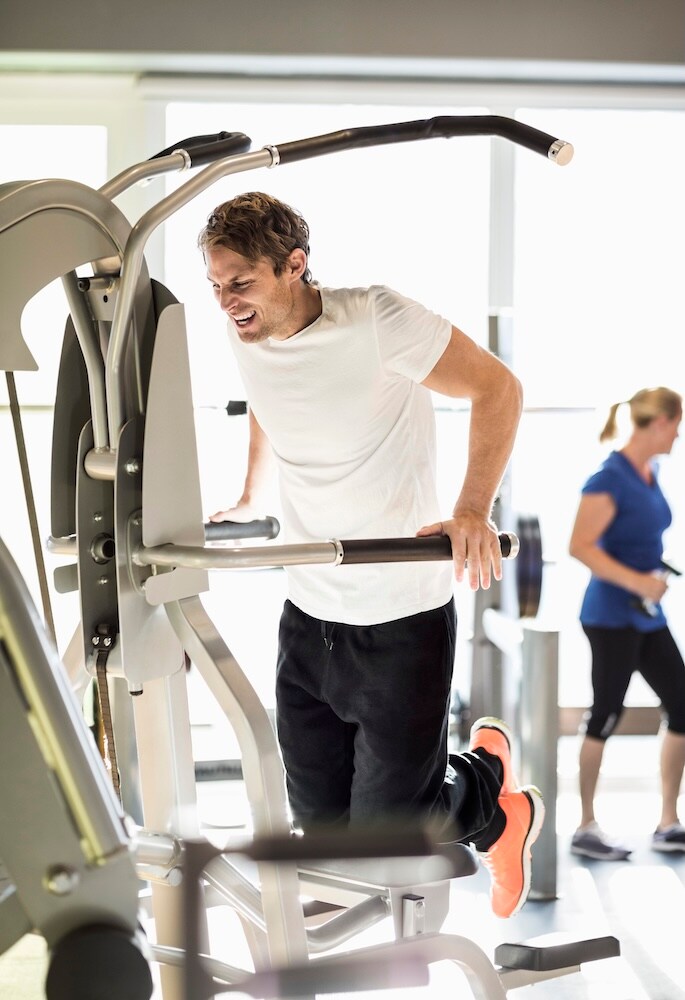
- Kneel on the designated padding, which is about halfway up in front of you when not in use. Sometimes there’s also a step for one foot to help you get onto the padding.
- For pull-ups, grab the upper handles. There are ones that point to the side and can be used with an overhand grip. The handles facing your face are ideal for pull-ups with a hammer grip.
- To switch to dips, simply grab the lower two bars from above with a hammer grip instead of the upper handles.
On to the Exercise Execution
From this position, perform the dips using only the strength of your arms. Your knees remain on the padding, which moves up or down with your body. With a high weight setting, you’ll notice it feels like the padding is supporting you as you move up. During the exercise, keep your core tight so that your triceps do most of the work. I would also recommend a slow execution, utilizing the full range of motion and holding briefly at the top before slowly returning to the starting position under muscle tension. Especially in the last step, the eccentric part of the exercise, you shouldn’t cheat. This way, you get the most out of the triceps dips.